Set up summary
To accept payments with Stripe in PaymentKit, you will need to:- Request access to Stripe raw card APIs
- Create Stripe API keys
- Connect Stripe to PaymentKit
- (Optional) Enable Apple Pay and Google Pay
Request access to Stripe raw card APIs
PaymentKit uses Stripe’s raw card APIs, which must be enabled by Stripe.PaymentKit is PCI compliant and provides the required compliance documentation, including the Self-Assessment Questionnaire (SAQ D) and On-Site Attestation of Compliance. These documents are required when requesting access to Stripe’s raw card data APIs. You do not need to complete PCI certification separately.
I am requesting access to Stripe’s raw card data APIs for my account. PaymentKit serves as our PCI-compliant payment orchestrator and provides the required Self-Assessment Questionnaire (SAQ D) and On-Site Attestation of Compliance, which can be accessed here: (insert link)Stripe should get back to you within a few days.
Create Stripe API keys
PaymentKit requires Stripe API keys to securely connect to your Stripe account.- In your Stripe account, navigate to the API keys page
- Create a restricted API key
- How will you use this API key: Providing this key to another website
- 3rd party name: PaymentKit
- 3rd party URL:http://app.paymentkit.com/
- Copy the following values:
- Publishable key
- Restricted secret key
Connect Stripe to PaymentKit
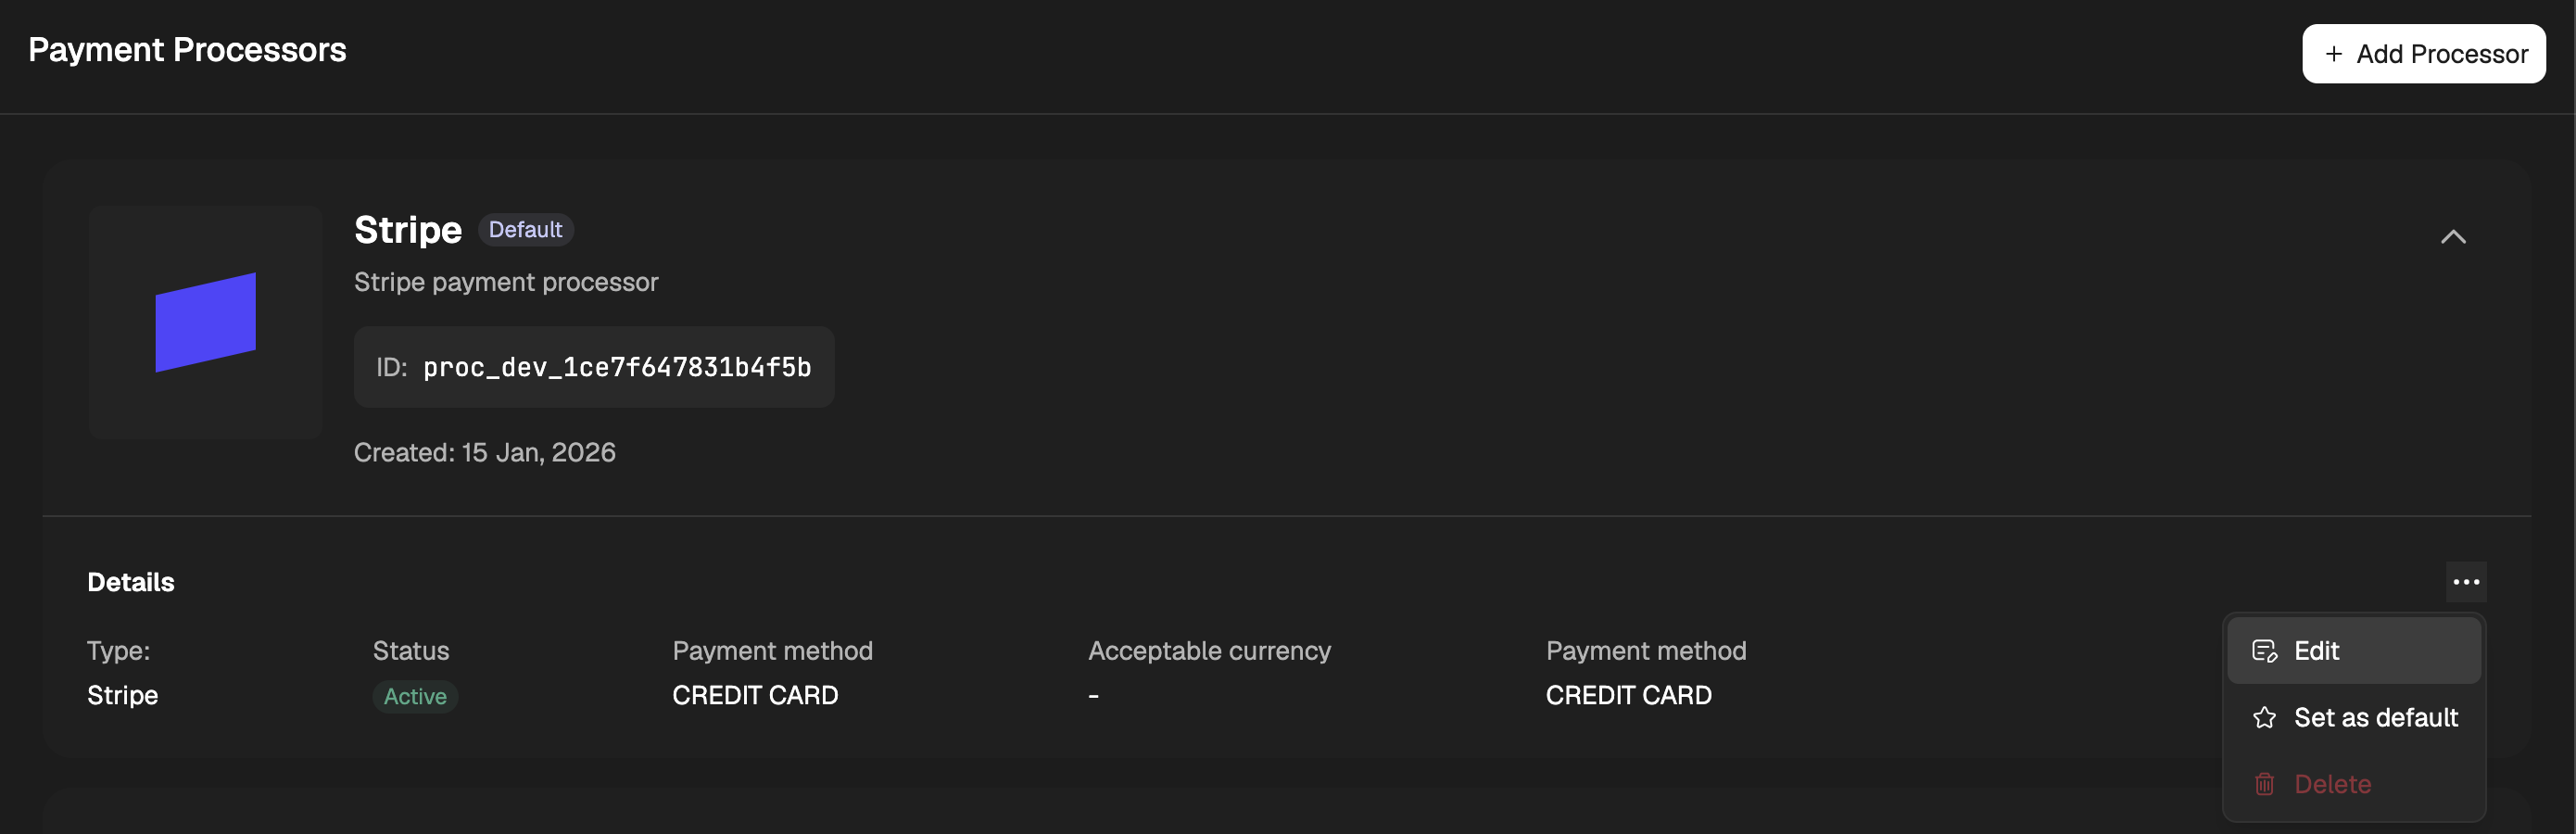
- Navigate to Developers → Payment Processors
- Click Add Processor and select Stripe
- Enter your publishable key and restricted key
- Turn on the payment methods you want to accept payments in (for Apple Pay and Google Pay, you will need to complete the additional steps below)
Enable Apple Pay and Google Pay
Register Your Domain
A custom domain is required before digital wallets can be enabled.- Register your domain in Stripe here
- Verify the domain
Add Apple Pay and Google Pay as accepted payment methods
After your domain is registered:- Navigate to Developers → Payment Processors
-
Edit your Stripe processor settings
- Add Apple Pay and Google Pay as accepted payment methods
Notes on how wallet availability works
PaymentKit does not control whether Apple Pay or Google Pay is shown. Availability is determined entirely by Stripe based on device, browser, and wallet configuration.
Availability Summary
Apple Pay- Safari on macOS, iOS, and iPadOS
- Android devices
- Supported Chrome desktop browsers
Embedding Apple/Google Pay into custom checkout
Once enabled, Apple Pay and Google Pay can be integrated directly into your custom checkout form using PaymentKit’s
<ElementsForm />. Click to learn more.